Creating an order is a quick and easy process. Simply fill out the patient's information, select the exam(s), and select their insurance! If the patient has been to HDRS or Y&M Radiology in the past, most of the patients demographics will be filled out. You only need to verify or update the information as needed.
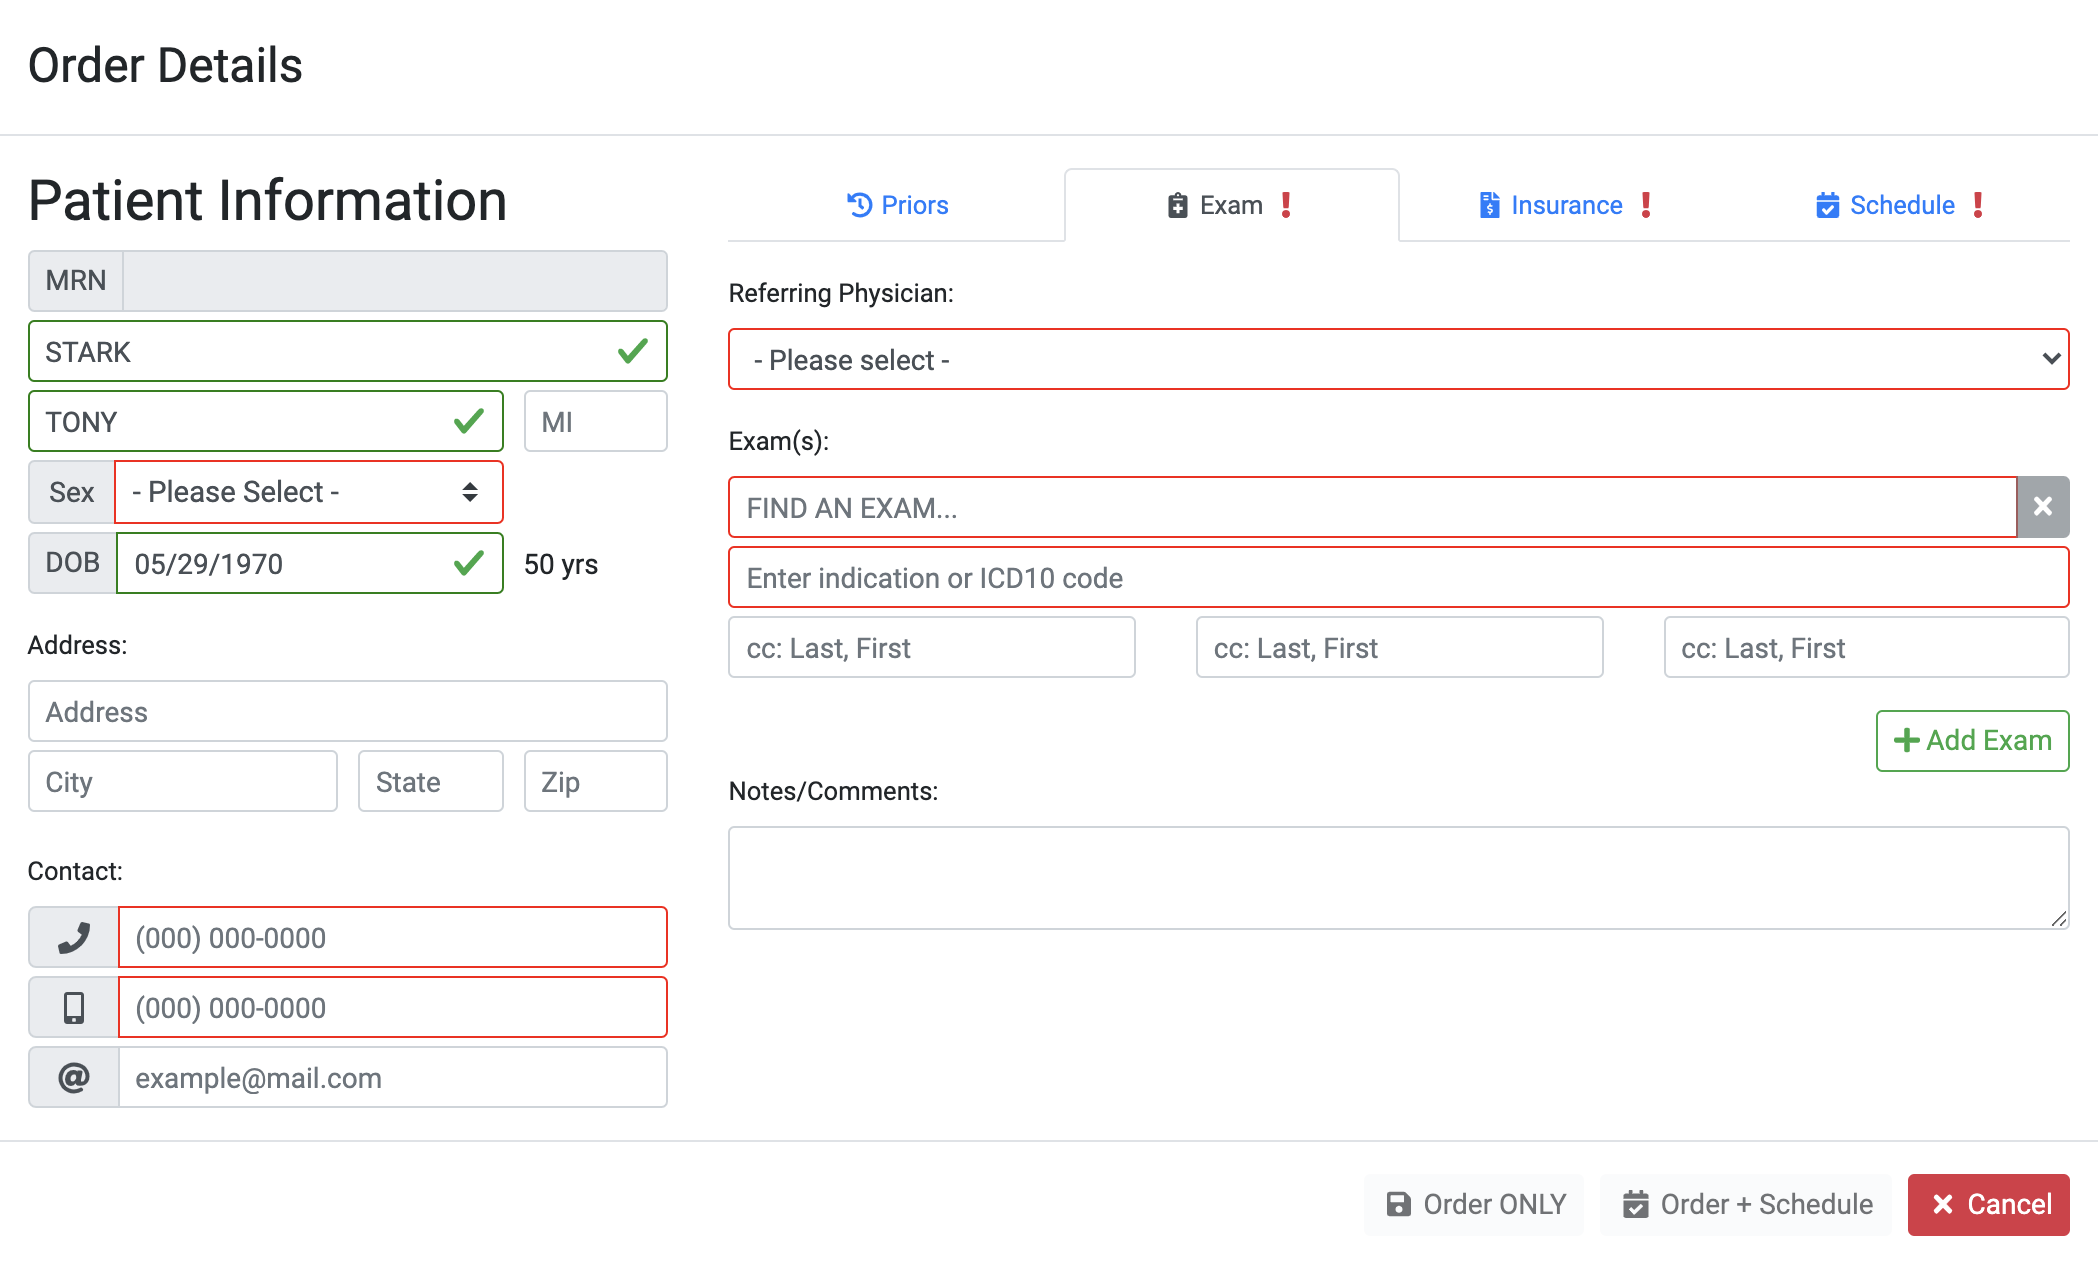
Building your order. Fields marked in red are required.
To create a new order, you must first search for the patient in our system to see if they have done any prior imaging at one of our clinics. We do this for a couple reasons. The first being that if the patient had been to HDRS before, many of the the fields can be pre-populated before you even start. Another reason for this is to avoid creating a duplicate account. The system will consider this a new patient and not display any previous or pending orders which may be important for comparisons. You can refer back to the 'Patients' section of this guide for help on searching for patients.
Additionally, you can also create a new order by selecting an existing order from any worklist. This is great for scheduling follow ups and saves time by skipping the patient search step.
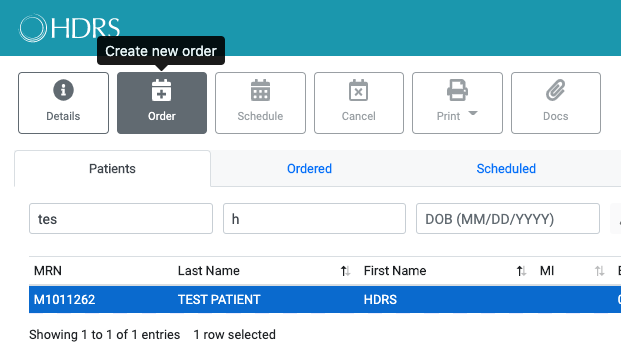
New order for existing patient.

If no existing account is found, you can create a new patient.
You may notice red exclamation marks next to the tab headings when you open up a new order. These mean that there is a required field in that tab that has not been filled out yet. Required fields will be marked in red for easy identification.

Missing required information alerts
Finding an exam to order is a breeze. If you are new to the portal, you can start off by entering the modality and a body part.
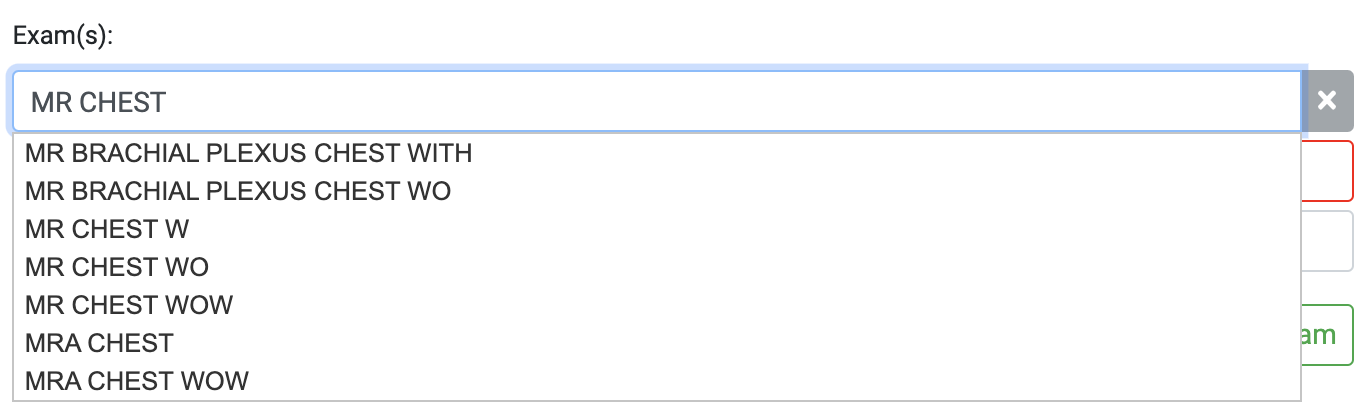
Search by modality and body part for quick results
| Modality Codes | Body Parts | Contrast |
|---|---|---|
|
|
|
Once you have completed all the required fields, the red exclamation will turn into a green check mark and you can proceed to the insurance tab.
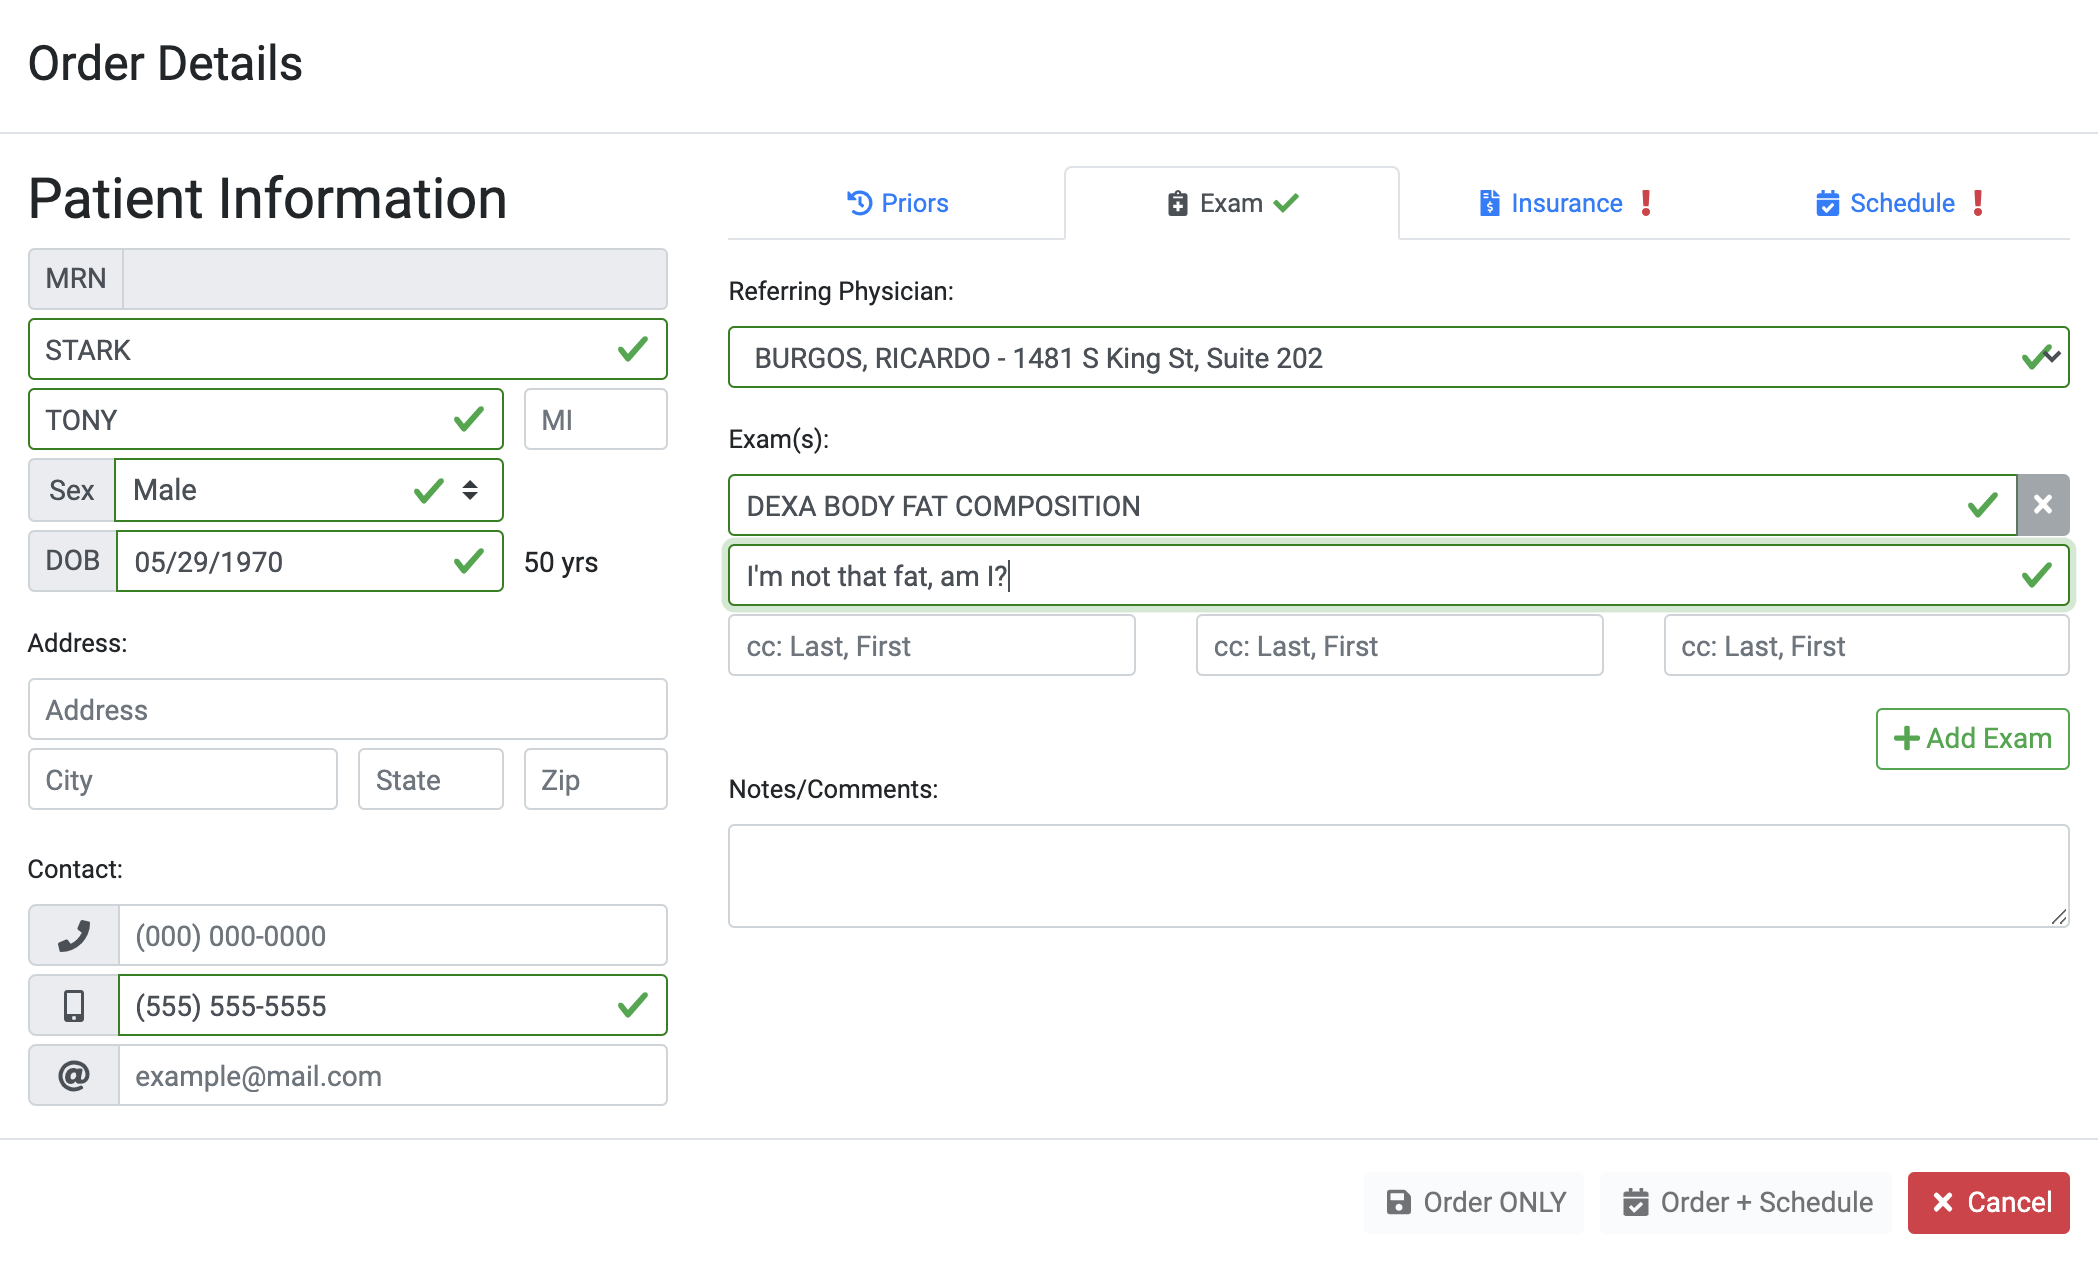
Green is good
The only required field for insurance is the primary plan name. You can also fill in the other fields if you have the information on hand. If the patient has been to HDRS recently, previous used insurance will be auto populated.
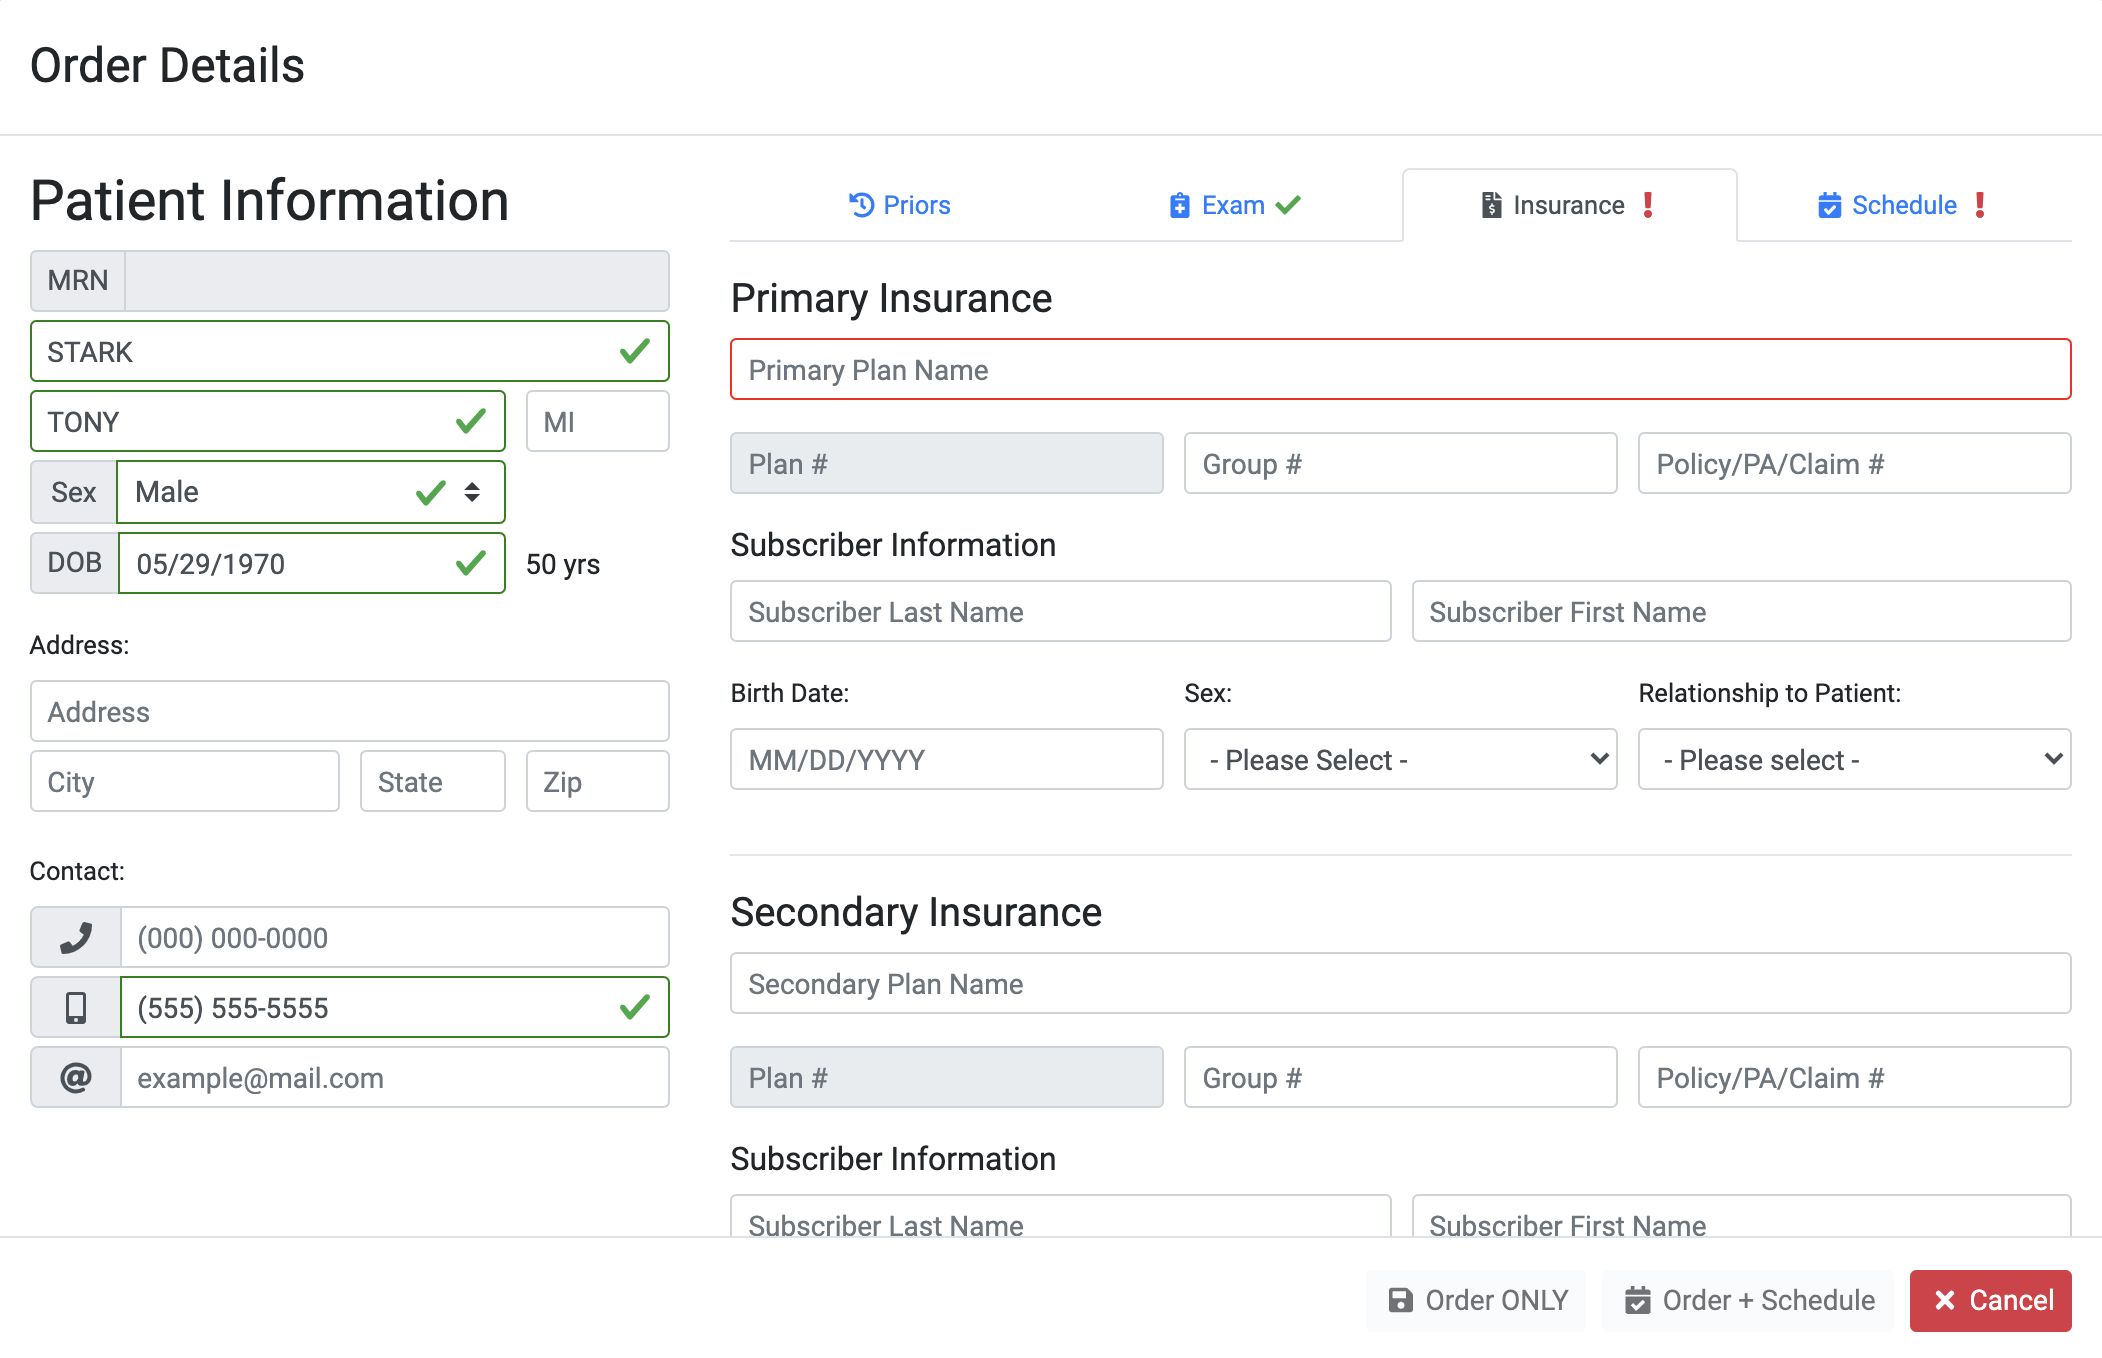
Insurance details
To add or change the insurance shown, just start typing the payors name and a dropdown will appear with matches for you to choose from. It is ok if you don't know the plan number. Select any matching payor name. We always check and adjust these as needed. You can also search for claims type payors such as workman's compensation, auto, liability, etc.

Multiple results may show if the payor has multiple plan types.
If you have the group and policy numbers, you can add those in the fields below the plan name. For workman's comp, auto, pre-auth, etc. please enter the approval/claim number in the Policy # field.
That's it! You should have green check marks next to the Exam and Insurance tabs and can save this order by clicking the 'Order ONLY' button. If the button is still grayed out, check to make sure all required fields are filled out. If you want to get this new order on the schedule, don't click the 'Order ONLY' button and continue to the next section where we go over order scheduling.

That was easy :)
There are two ways to schedule an order. The first method is to schedule it while creating the new order and the second is to select an existing order in 'Ordered' status and schedule that.
Continuing from the last step of New Order, click the 'Schedule' tab. The top section allows you do define any preferences you or the patient may have before searching for a slot.
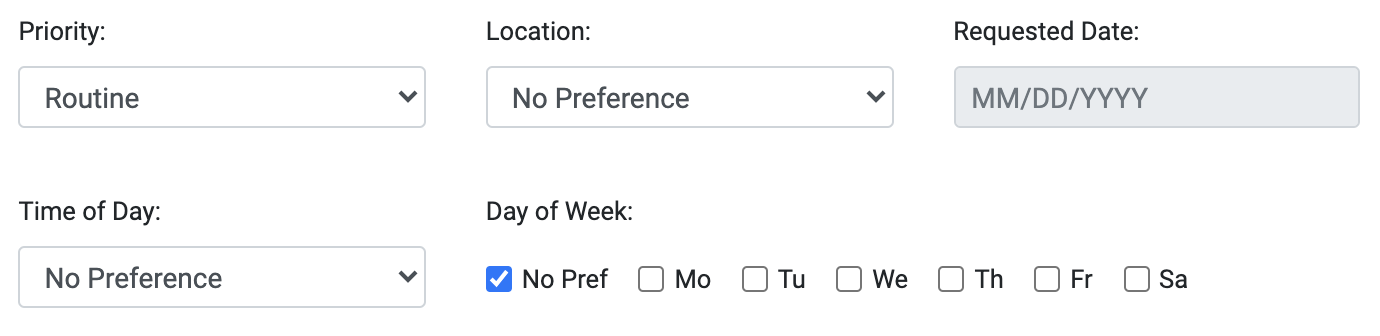
caption
Once the preferences are set, go ahead and click search. A date picker should pop up and you can select the date you would like to check for availability. If nothing is available for the date you selected, the system will automatically continue searching for a slot that matches any preferences set. You see an alert when this happens.
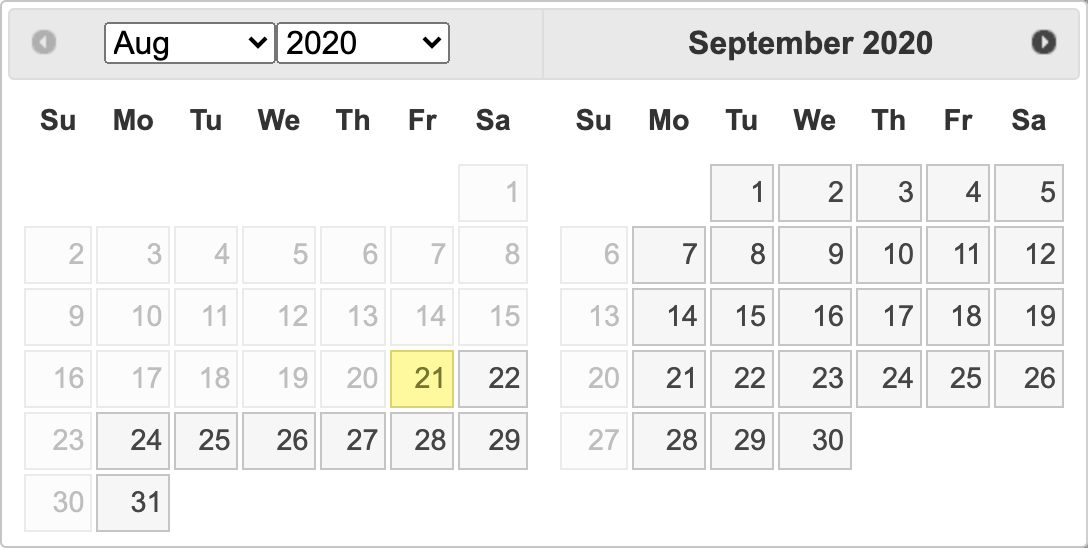
Use the calendar controls to look for slots further out in the future
A list of available slots will display once they are found. You can click on a slot to select it. The slot you select will turn green once you click on it. You can click another slot if you change your mind or click 'Load more' to search for more slots matching your preferences set.
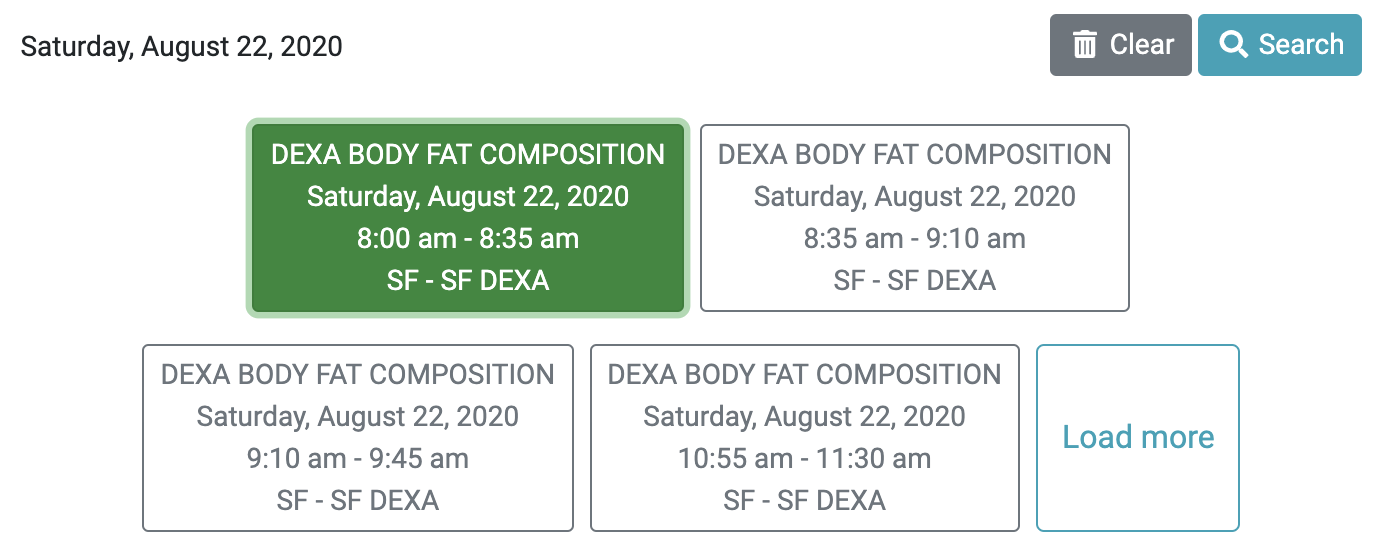
Slot tiles are labeled with a short description of the appointment
If all required fields have been filled out, the 'Order + Schedule' button will turn green. Click it to finalize and submit your order. If you change your mind and don't want to schedule the order, you can still save it by clicking the 'Order ONLY' button. You can follow the steps in Scheduling an Existing Order to schedule at a later time or you can leave it and HDRS will contanct the patient and schedule it for you.

Save as ordered or schedule it
Scheduling and existing order follows some of the same steps as scheduling a new order. The only difference is you need to select the exams you want to schedule from either the Ordered or Patients worklists. The order must be in Ordered status to enable the 'Schedule' button in the button bank.
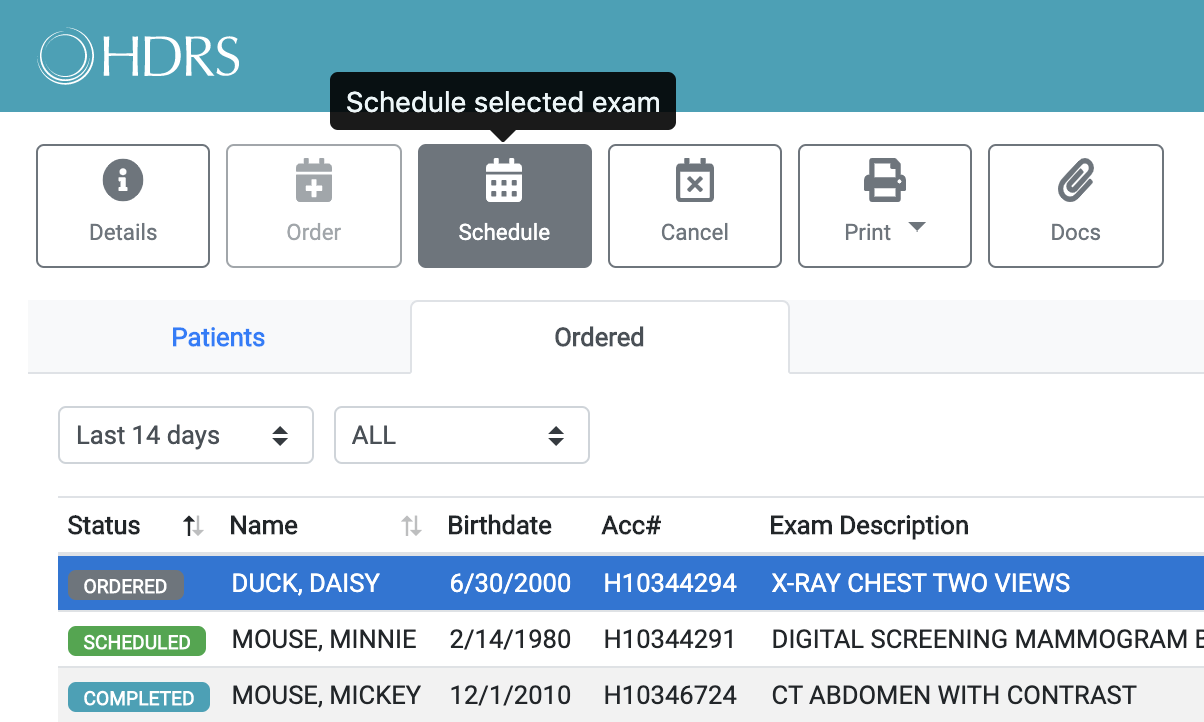
Select an exam in Ordered status to enable the Schedule button
After clicking 'Schedule' from the button bank, the system checks for any other exams for this patient that are also in Ordered status. If any are found, you can select any that you would like to schedule at the same time. Click schedule after selecting the exam(s) you want to schedule.
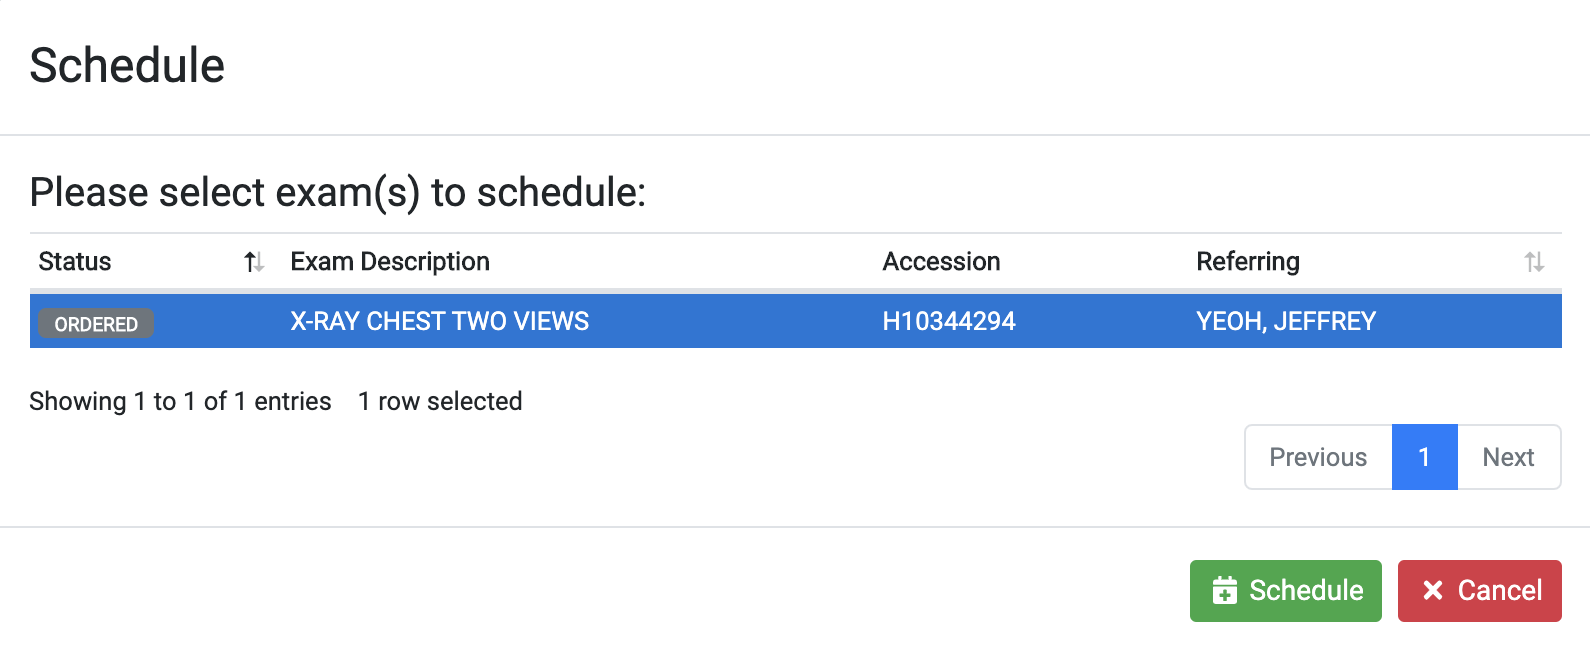
Display all exams for selected patient that are in Ordered status
You should now be viewing the order details and on the Schedule tab. Follow the same steps to find slot described in the Scheduling from a New Order section above.
There may be a time where you need to cancel an order. To do this, select an exam in Ordered or Scheduled status from the worklist and click 'Cancel' from the button bank.
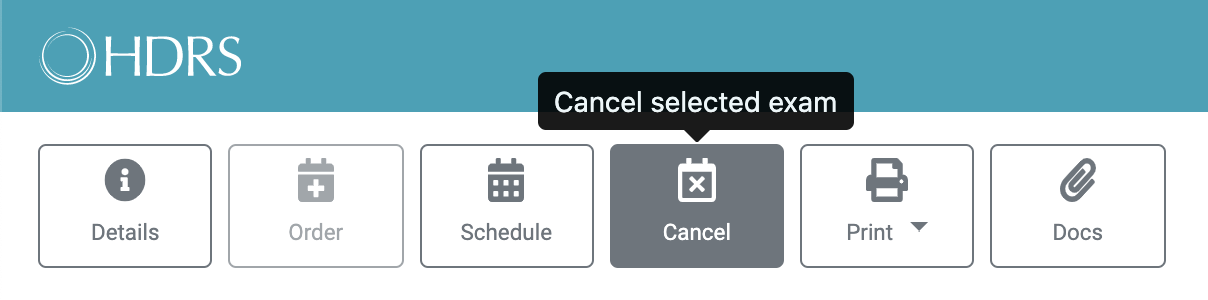
Cancel button is enabled after selecting an exam in Ordered or Scheduled status
Select a reason for the cancellation and click 'CNX'. Cancellations permanently delete the order and cannot be undone. If you delete an exam by mistake, you will need to re-enter all the information in a new order. Additionaly, you can only cancel one exam at a time to prevent deleting things in bulk by accident. We're just protecting you from yourself :)
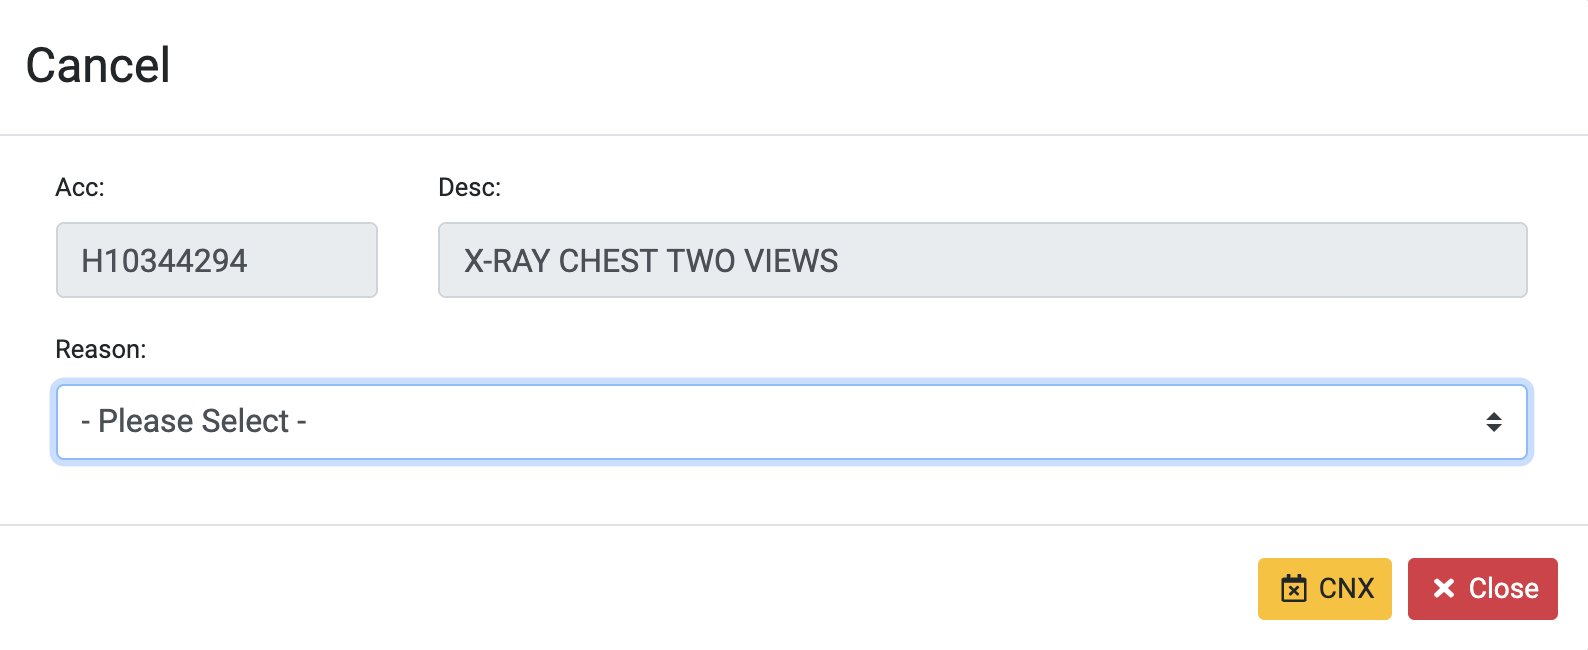
This will permanently delete the order and cannot be undone